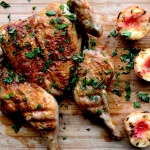
Don’t let the summer pass you by without making this Brick Chicken – which is chicken that is grilled (or roasted) under a brick. I repeat. Make this before you cover your grill for the season. And if you don’t have a grill, find a friend with one and bring them a chicken! Kidding, sorta. If you don’t have a grill, I’ve included oven instructions as well.
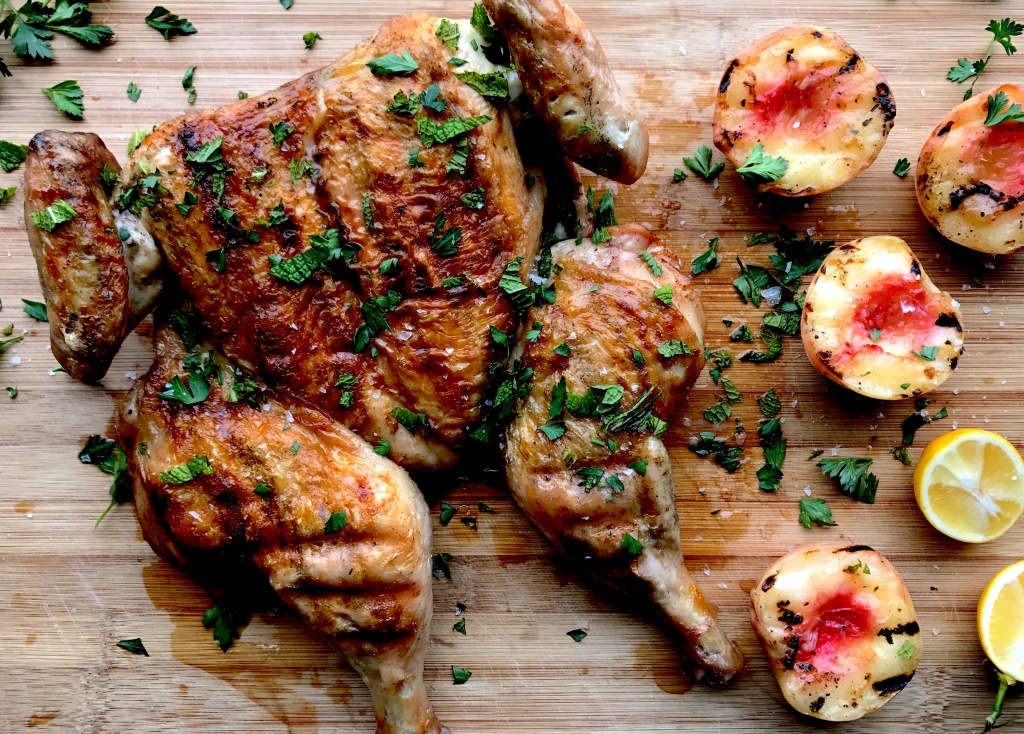
Brick Chicken – quick and delish.
Let’s get back to that grilling vs roasting discussion for a minute. Grilling chicken adds flavor elements you won’t get from the oven, but do not discount the deliciousness of this chicken when cooked in the oven.
The real magic of this recipe is the dry brine; seasoning your chicken a day or three before cooking it adds SO MUCH more flavor than what you’ll get from seasoning right before cooking it. So please, do not wait until the snow melts to make this. Brine your chickens. Roast your chickens. Discover you love chicken more than you thought you did.
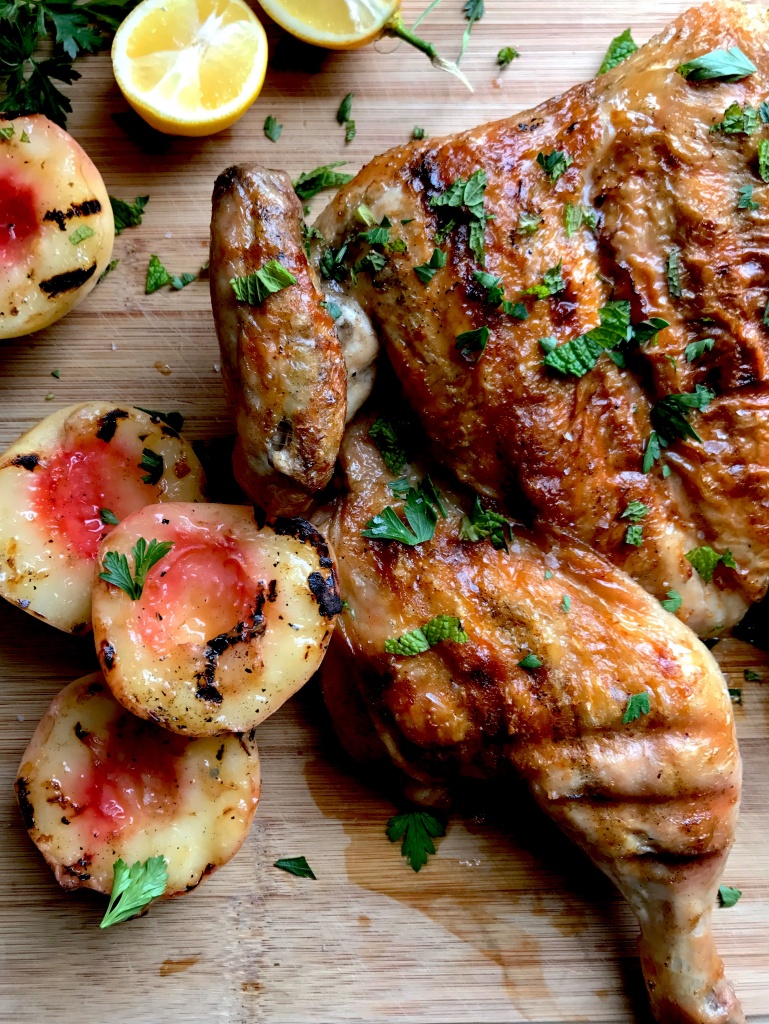
Chicken this sexy deserves a close up.
I included one of my favorite seasoning combos for this brick chicken, but there is no real secret equation here. Salt and seasonings are really all there is to it. Use your favorites, add as much or as little flavor as you like.
How to spatchcock a chicken:
And if you want to feel like more of a pro in the kitchen, make sure to check out my virtual cooking classes!
Looking for more good grillin’? Boy howdy have I got some recipes for you! Check out The Best Hanger Steak, Mightly Fine Grilled Chicken, and Lemon-Mint Lamb Burgers.
Need some sides to go with that meat? How about some Sesame Cucumber Salad, Green Bean Salad with Tomato Vinaigrette, or Spicy Roasted Romanesco with Lemon and Capers?
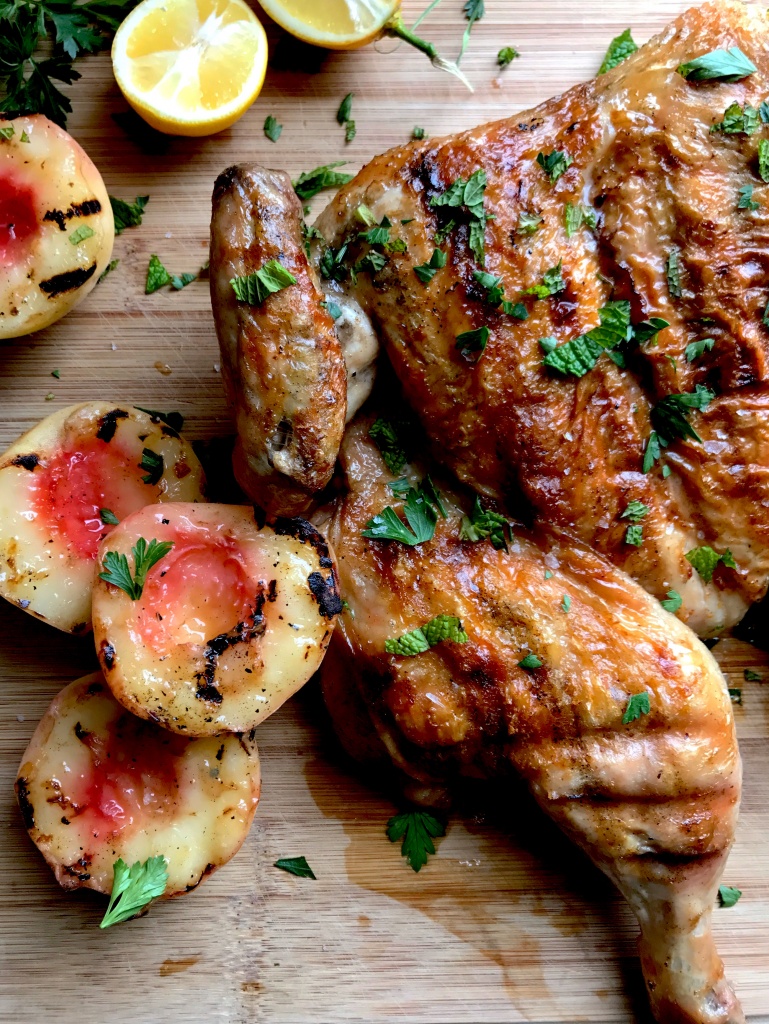
Chicken Grilled (or Roasted) Under A Brick
- Prep Time: 15 minutes
- Cook Time: 30 minutes
- Total Time: 45 minutes
- Yield: 4 servings
- Category: Main Course
- Cuisine: American
Ingredients
- 2 teaspoons sea salt
- 1/2 teaspoon lemon zest
- 1/2 teaspoon paprika
- freshly ground black pepper
- 1 3.5-4 pound chicken, (backbone removed and flattened, see video above)
- avocado or other high heat oil
- fresh herbs (such as parsley, mint, chives, rosemary, for serving)
- 4–6 peaches (halved, optional*)
Instructions
- In a small bowl, combine the salt, lemon zest, paprika and a few turns of black pepper.
- Rub the mixture all over the chicken, getting it under the skin as well. Refrigerate until ready to grill – Ideally for at least a few hours and up to three days – this isn’t necessary, but greatly improves the flavor of the chicken. If leaving the chicken for more than a day, cover with plastic wrap until the day you’re grilling, at which point leave uncovered in the fridge to allow the skin to dry a bit.
- Preheat the grill so the temperature is between 350-425. (This will depend on your grill, they’re all different. Mine likes to be around medium – medium-low to stay at the right temp for this.) If using charcoal, you will probably need to use indirect heat, or less heat directly under the chicken. Put the brick or pot on the grill to heat up.
- Rub the skin of the chicken with a little bit of avocado oil. Tuck the wing tips behind the base of the wings.
- Place the chicken skin-side down on the grill, and place the brick or pot on top. Close the grill. Give it a peak after 5 minutes, just to make sure it’s not browning too quickly, or unevenly. If the skin is sticking, don’t mess with it. Adjust the heat accordingly if needed, and return the brick. Cook for an additional 20-25 minutes with the grill covered.
- Once the skin-side is nicely browned and crispy, flip the chicken and cook for another 10-15 minutes, covered, but without without the brick. The chicken should be 160ºF when you pull it off the grill. * If grilling peaches to serve with your chicken, brush them with a little oil and grill 4-5 minutes on each side, during the last 10 minutes of cook time.
- Cut up the chicken and serve garnished with chopped fresh herbs.
Oven Instructions
- Follow steps 1 and 2 above.
- Preheat the oven to 500ºF and place a large cast iron skillet in the oven to heat up. Cut a circle of parchment paper about the size of the bottom of the cast iron post or heavy object you’ll be using.
- Carefully remove the skillet from the oven. Brush the chicken skin with avocado oil and place skin side down in the preheated skillet. Place a heavy pot on top, such as a dutch oven or another heavy skillet. (or a brick wrapped in foil if you have one) Return to the oven.
- Cook for 30-35 minutes, skin side down, until the temperature reaches 160. Let it rest for 5 minutes before cutting it up. *If serving with peaches, throw them in the skillet during the last 5 minutes of cook time.
Notes
You’ll also need:
- parchment paper or aluminum foil
- a grill brick, or a heavy pan or pot. A cast iron dutch oven is perfect.
All of the links on zenbelly.com are for information purposes, however some are affiliate links to books, products or services. Any sponsored posts are clearly labelled as being sponsored content. Some ads on this site are served by ad networks and the advertised products are not necessarily recommended by Zenbelly.
Susan says
I love chicken under a brick, but I don’t have an outside grill or a brick. If I were to do this inside, I can figure out the grill pan and cast iron pan as a weight, but would be able to cover it (the way that you close the lid of a grill. If doing this inside, is covering it necessary?
Susan says
Well, maybe if I’d read on to see your oven instructions I wouldn’t have asked that stupid question — so sorry for wasting your time! You are awesome for anticipating the question in advance!!!
zenbellyblog says
No worries, I didn’t want anyone to be left out! 🙂
Tracy says
Please show a photo with the brick on chicken
zenbellyblog says
Hi Tracy, Sorry, we already cooked and ate the chicken so I don’t have a photo of it. You literally just put the brick or pot on the chicken and adjust it so it doesn’t fall off. Pretty straightforward. Let me know if you have any questions about that.
Kyle says
For the oven methos -do you cook it at 500 the whole 30 mins?
Harper Honan says
Should I get a grill thermometer so I can make sure grill stays at right temperature? (Grill amateur over here…)
zenbelly says
You could, but I usually just adjust based on how fast / slow things are cooking. It’s definitely good to have one side of the grill hot and one side less hot so you can move stuff around as needed!
Jennyquack says
I just made this last night, again, and wanted to tell you how much I adore your recipes! This method is foolproof! I season with homemade dried mushroom powdered-seasoned salt the day before. The dry brine is the secret to crispy skin!
Anyway, this is great if it’s a family meal or for company. Chef’s kiss!!