Gluten-free pizza can be… less than stellar. I remember the first time I heard someone say “there’s no such thing as bad pizza”, and the reaction I had to that statement, at least internally, was, I beg your pardon, sir, but there absolutely is such a thing as bad pizza. And life is too short for it, whether you’re gluten-free or not! Hi my name is Simone and I am a pizza snob.
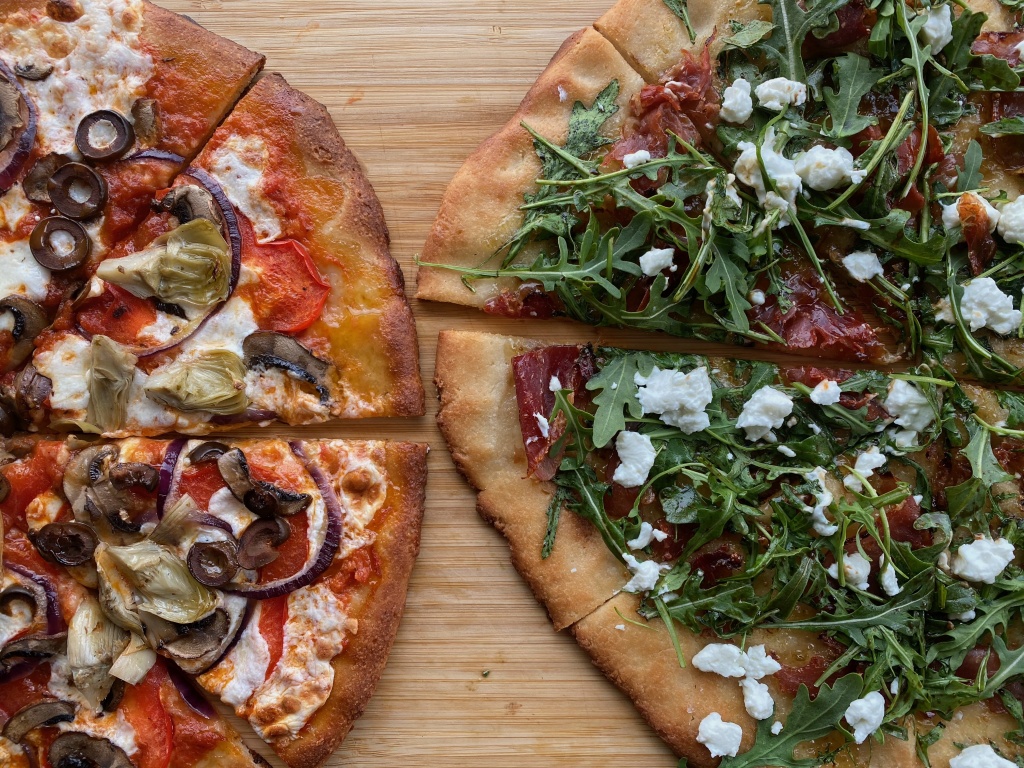
Really good gluten-free pizza? Yes, it exists!
Full disclosure: this recipe is nearly identical to the original NY Style Pizza Crust recipe – one of the oldest recipes that lives here on this site. It’s been needing a glow-up for a while now, and I finally made a couple of pizzas this week to photograph and tweak the recipe juuuust a little bit.
Since it’s one of the most popular recipes here at zenbelly, I didn’t want to make any changes to the original post; that tends to upset people who have come to rely on it. Instead, I am giving you another option that has even better results (in my opinion), and a more streamlined baking process.
I also doubled the recipe so that it makes two pizzas instead of one. Since creating the recipe, I don’t think I have ever made a single batch, so figured it was a good call to make the standard recipe make two 10-inch pizza crusts. Still easily scaleable if you’re feeding a crowd!
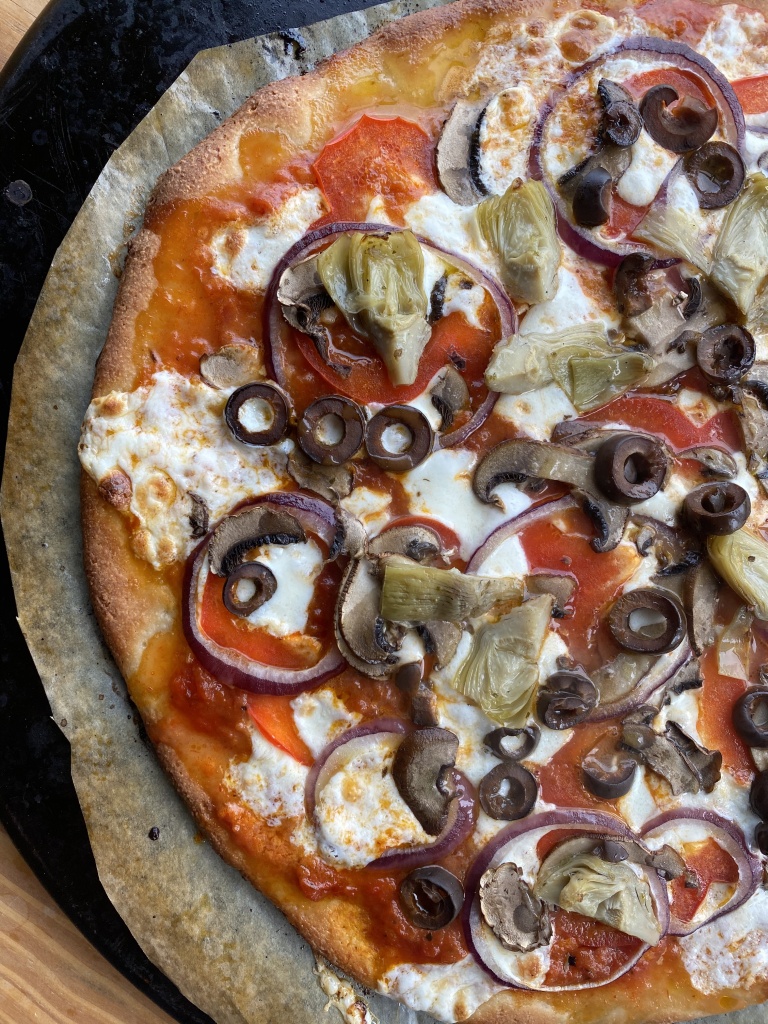
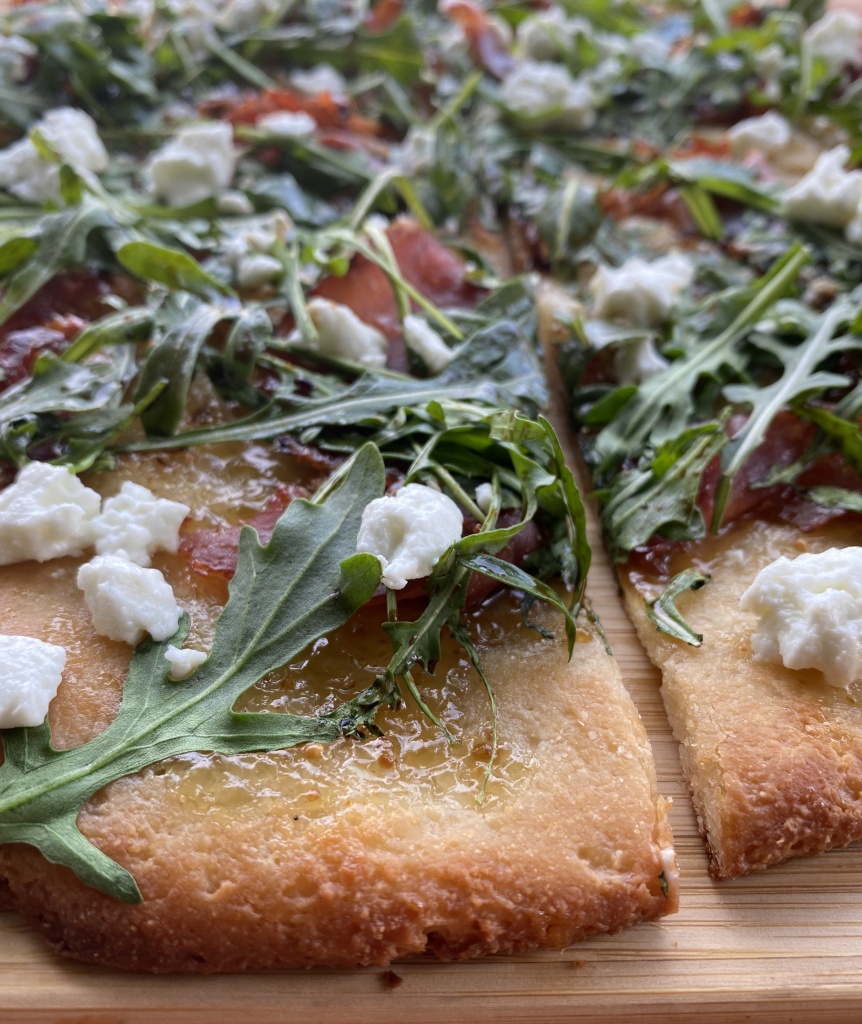
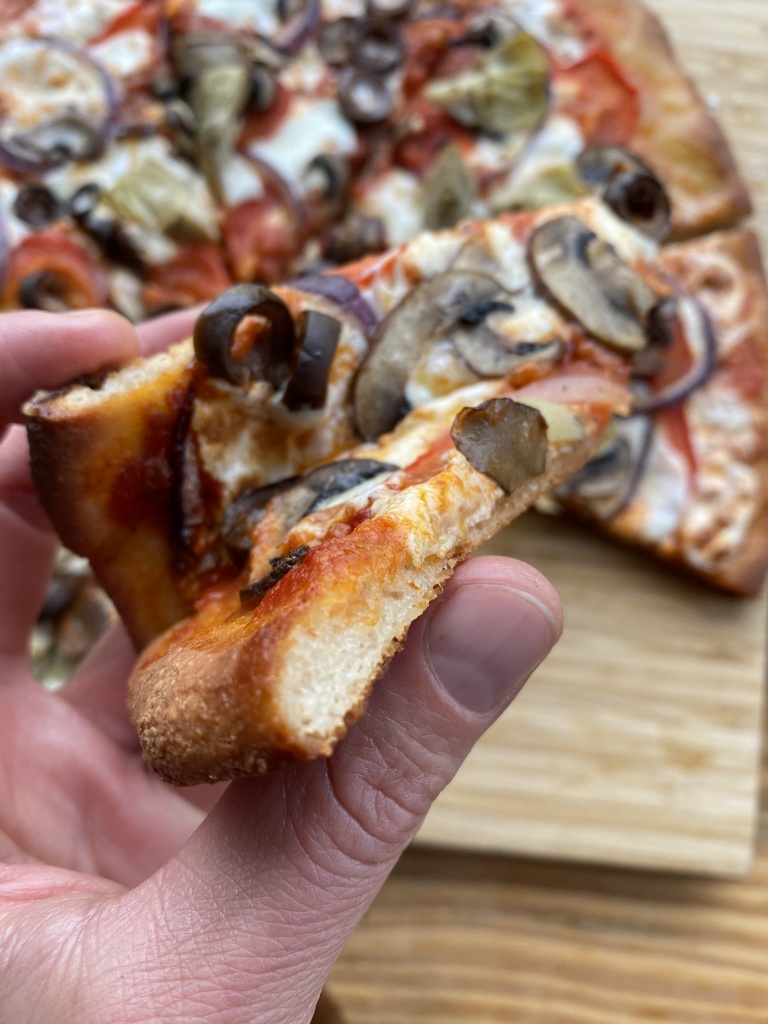
Why am I calling this gluten-free pizza the best? Because it has everything a good New York style pizza has: great flavor, crispy-chewy crust, and is sturdy enough to hold all your favorite toppings even when super thin. And of course you know how I do: it’s not just “good for gluten-free”, it’s good, period!
Just look at that crispy on the outside, chewy on the inside gluten-free pizza crust:
how to make gluten-free pizza crust:
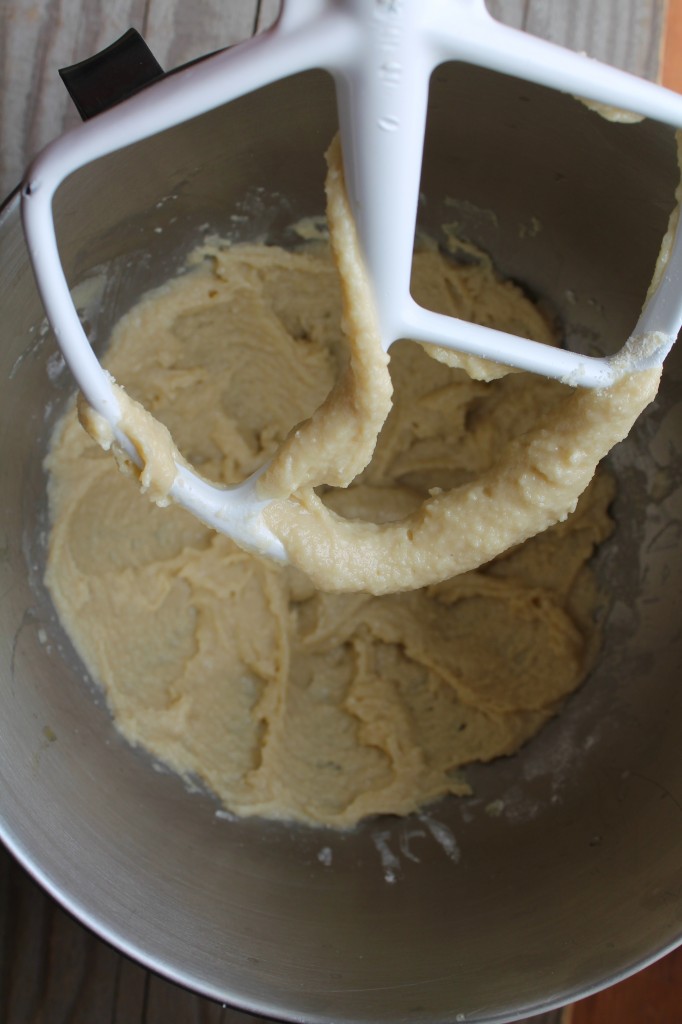
Mix it all up with a stand mixer or with beaters. 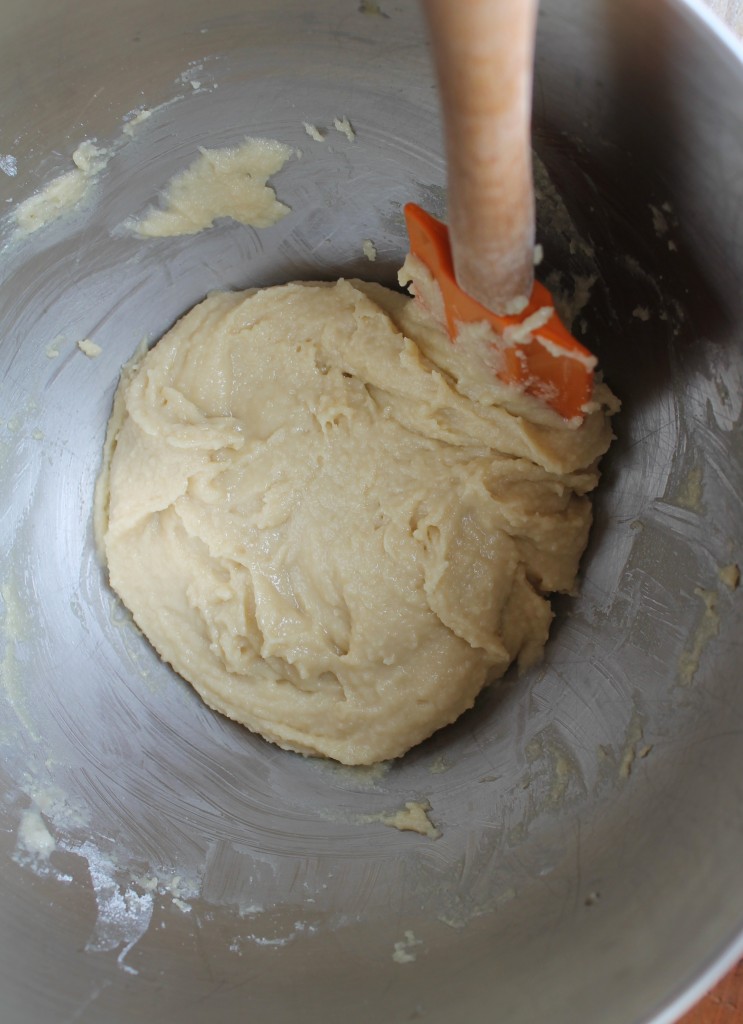
Gather the dough into somewhat of a ball with a rubber spatula. 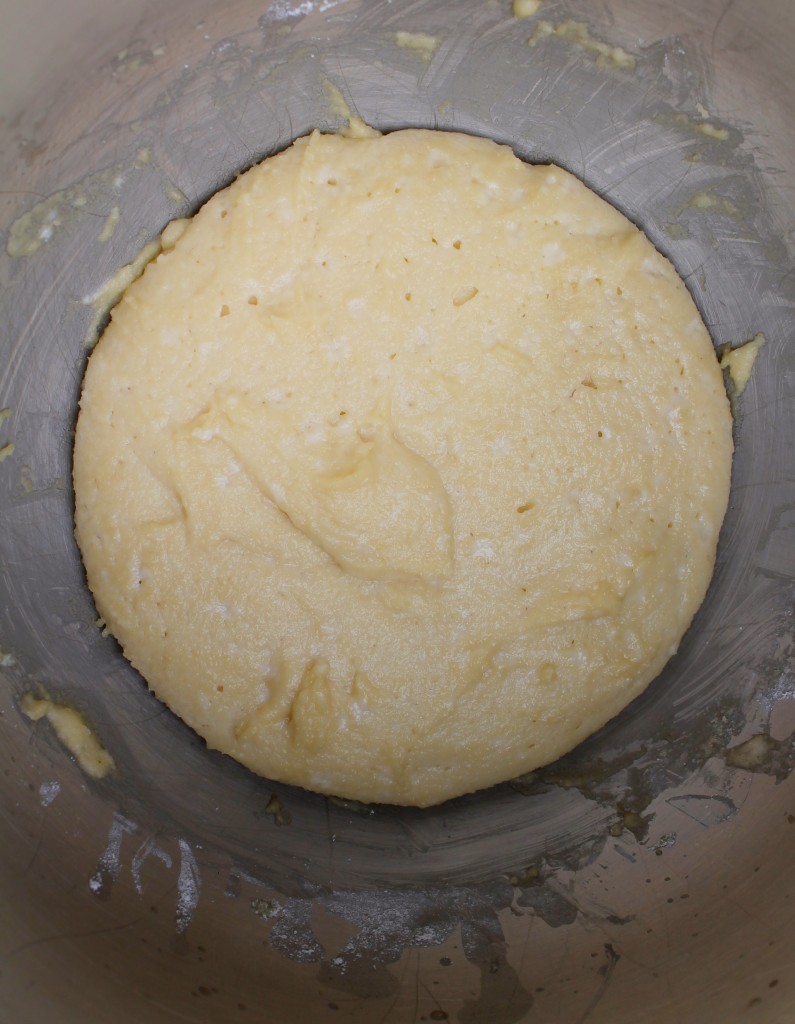
Let it rise in a warm place for 75-90 minutes. 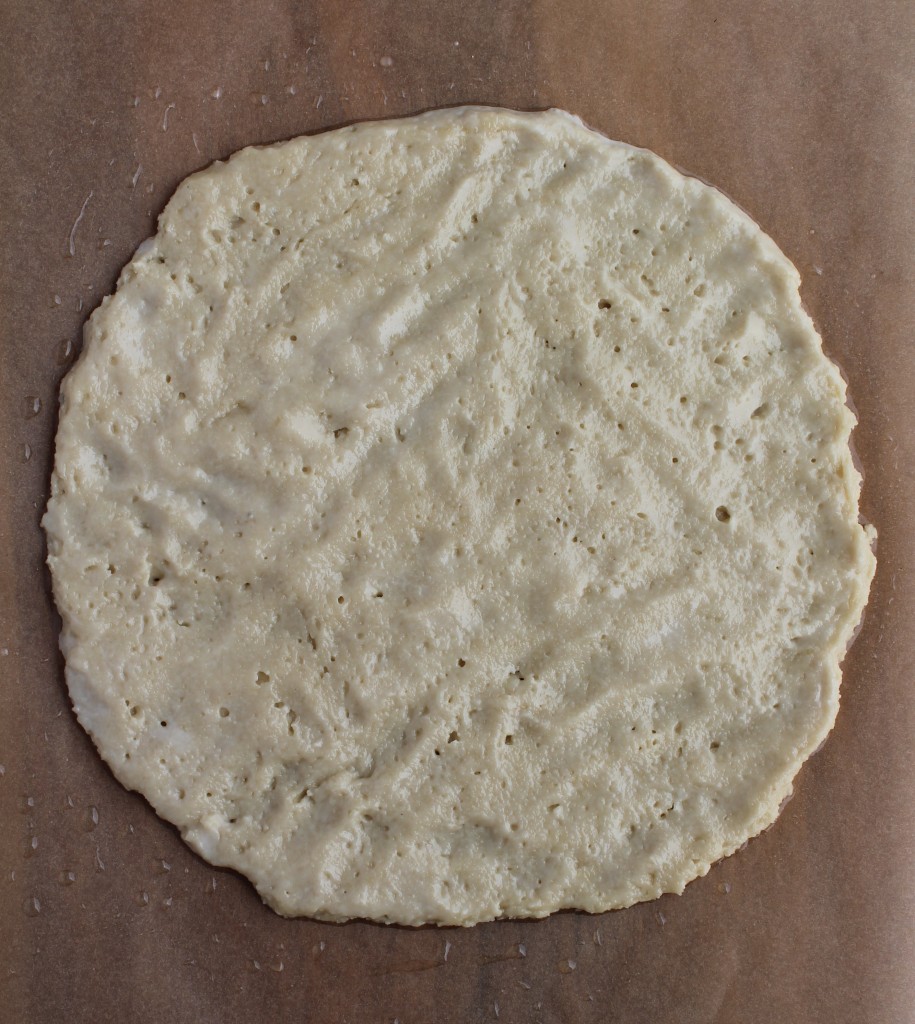
Flatten into a circle on oiled parchment.
The consistency of this dough is different than the kind you might be used to, if you’re used to making regular pizza dough. This one isn’t kneadable and stretchable, due to the lack of gluten. Because of that, it has to be handled differently, but I think you’ll be thrilled with the end result!
A pizza stone is the best tool to buy to level up your pizza game. If you don’t have one, a cast iron skillet is the next best thing. If your skillet is smaller than 10 inches, the pizza will be thicker, so unless you prefer that, you might want to divide the dough into three crusts instead of two.

gluten-free pizza crust
Miss pizza since going gluten-free? No more!
For this recipe, you’ll also need parchment paper and a pizza stone or cast iron skillet.
- Prep Time: 20 minutes
- Cook Time: 12-16 minutes
- Total Time: 32-36 minutes + time to rise
- Yield: 2 10-inch pizzas
- Category: pizza
- Method: bake
Ingredients
- 1/2 cup very warm water
- 2 tablespoons honey
- 2 packets active dry yeast (4.5 teaspoons)
- 2 tablespoons extra virgin olive oil, plus more for greasing
- 1 egg white
- 1 tablespoon apple cider vinegar
- 1 1/2 cups almond flour
- 1 3/4 cups tapioca starch, plus more if needed
- 1 1/2 teaspoon sea salt
- your favorite pizza toppings (see notes)
Instructions
- In a large bowl or bowl of a stand mixer, mix together the warm water and honey. The honey should bring the temperature down to a good temp for the yeast – it should feel warm, but not hot, when you drop a bit on your wrist. Stir in the yeast and set aside for about 5 minutes – it should get foamy and active.
- Meanwhile, whisk together the olive oil, egg white, and apple cider vinegar.
- Once the yeast is foamy, add the olive oil mixture along with the almond flour, tapioca starch, and salt.
- Beat with a paddle attachment for about a minute, adding more tapioca starch if necessary, or until it’s somewhere between the consistency of pancake batter and cookie dough, but closer to cookie dough.
- Scrape down the sides, beat a bit more so it’s all incorporated, and then gather the dough into somewhat of a ball using a rubber spatula. Cover with plastic wrap and place in a warm place for 75-90 minutes.
- After about an hour, preheat the oven to 500°F and cut two pieces of parchment paper just a bit smaller than the pizza stone or pan you’re using. Put the pizza stone in the oven to heat up. (without the parchment paper)
- Once the oven is hot, liberally oil the parchment paper and place half the dough on each one. Gently flatten it out so it’s as thin as you can get it. Top with sauce, cheese, and any toppings you’d like.
- Carefully remove the pizza stone from the oven and slide the pizza with the parchment onto it. Return to the oven and bake 6-9 minutes, or until it’s crispy on the bottom and deep golden brown.
- Repeat with the remaining pizza crust. Allow to cool slightly before slicing.
Notes
- For veggie toppings, such as mushrooms, onions, and peppers: slice them very thinly so they cook in the short time the pizza cooks
- Meat toppings should be cooked first if they’re raw (like sausage)
- If using tomato sauce, make sure it’s cold when you spread it on the dough, or it will make the crust soggy.
All of the links on zenbelly.com are for information purposes, however some are affiliate links to books, products or services. Any sponsored posts are clearly labelled as being sponsored content. Some ads on this site are served by ad networks and the advertised products are not necessarily recommended by Zenbelly.

Jamie says
I can’t wait to make this, especially since I have a bunch of yeast to use from having buy bulk yeast during the great yeast shortage of 2020. I’m just curious. Have you ever made extra crusts and frozen them so they are ready to go for a quick dinner?
zenbelly says
yes, they freeze great! I like to par-bake them when I do that, just bake for a couple minutes so they’re just barely cooked and then thaw, top and finish cooking when you’re ready to eat.
Pam says
I have been making this recipe every Saturday night since the Zenbelly cookbook first came out and it is the absolute best — and the easiest. The crust tastes good, so it isn’t just something sturdy to put pepperoni and cheese on. I had to scale it up to fit my large pizza pan and somewhere along the line the proportions ended up being 1 cup almond flour, 1 1/4 cup tapioca and 1/2 cup water. The extra water makes it easier to spread on the parchment and doesn’t hurt the texture. I also bake it more slowly at a slightly lower temperature and flip it halfway through to get a crisp crust. If there’s any left over, this cold pizza is my husband’s favorite lunch. All in all an excellent — and very flexible recipe!
zenbelly says
Thanks so much, Pam! I’m so glad to hear that! And good to know that it’s flexible too!
Jill says
I’m a yeast newbie…and the recipe directions don’t actually say when to add the yeast. I’m assuming with the warm water and honey? Do you mix the water and honey first, then add in the yeast?
zenbelly says
oh my gosh I’m such a dummy. Yes, the yeast gets added after the water and honey are mixed together and you make sure the water isn’t too hot (should be not much warmer than skin temp) Thanks for catching that omission, I’ve edited the recipe.
Charlotte says
I’ve made this twice now, once with my 5 year old “helping,” and it is SO GOOD – we are never ordering take-away GF pizza again! Thank you for saving us from spending lots of money on cheese-topped cardboard. I also love the way that half way through you think “How on earth is this bowl of gloop ever going to resemble anything like pizza??” – and then it all comes together!! Last time I had no honey so used maple, and reduced it to 2 tsp as I found it a touch sweet before – I’d be tempted to reduce it further but my 9 year old said “Don’t mum, it’s perfect” – and I suppose you might need a certain amount to feed the yeast? Anyway, thank you for creating such a brilliant recipe. And for anyone in the UK wondering whether you can use ground almonds for almond flour, you can – I’m not sure whether they are the same thing, but ground almonds works fine.
Nisha says
I made this exactly as you listed except I used arrowroot instead of tapioca because I’m on keto and it came out perfectly. The crust is amazing! I’m so glad I followed the doubled recipe so I can eat it for the rest of the week. It’s crispy and chewy and sturdy so I can fold it and eat it NY style like it’s supposed to be! Next time I’m gonna season the tomato sauce before baking with Italian seasoning and salt. Also I don’t have a standing mixer or a pizza stone. I used my spatula to mix the dough and let it sit in the microwave. Then I set on greased parchment paper and a cookie sheet and placed that in the oven. But everything really came out perfectly in about 11 minutes in my oven at 500 the crust was cooked golden brown and the toppings were cooked through and sizzling. The bottom was crispy and chewy it was so good. I can’t wait to make this again!
Lisa says
I’ve made this recipe at least a half dozen times and it ALWAYS turns out amazing! My non-gf husband raves about how good it is (and not just for being gf, it’s a damn good pizza crust, period). Thank you for creating such a great recipe!!
Corey says
Can I just say thank you? Made this for my boys tonight. I have tried so many gluten free pizza crusts in the past and all have been failures with the Tatar testers. My pickiest offspring told me this tasted better than “regular” pizza. He has gluten sensitivity and it does my mama heart so good to be able to feed him a favorite while still taking good care of his body. I’m so appreciative for having found your site.
zenbelly says
Corey, this absolutely makes my day! Thanks so much for taking the time to leave this nice note. I’m thrilled that you found my site and that the pizza was a hit.
Kelly Starr says
The absolute best GF pizza crust ever! I’ve known about this recipe for years. Why didn’t I try it sooner? So easy and so delicious! Thank you, Simone!
zenbelly says
Thanks, Kelly! I’m so glad you love it.